I make no secret that I love a good burger. Love a great burger even more. So when I ran across this the other day, I thought….yeah, this is very valuable information.
We’ve had too many dried-out discs of near-jerky to think that. Luckily, Jeff Weinstein, founder and owner of The Counter burger restaurants is here to save us from ever again eating a hockey puck at a summer barbecue. Read on for his top tips for making perfect burgers.
1. Don’t Push Down on the Meat
Consider this the cardinal rule of cooking burgers. “It squeezes out the juices, and the juices are the flavor,” says Jeff Weinstein, founder and owner of the Counter burger restaurants. “Would you rather have a juicy product that took an extra minute or a non-juicy product that came a little faster?”
2. Buy Good Meat
Weinstein likes to have his butcher custom grind his meat — he asks for a sirloin steak or rib-eye with a meat-to-fat ratio between 75-25 and 80-20. Even if you just go to your supermarket’s meat section, don’t fall for the trap so many people do, assuming the leanest meat is the best. “It’ll be cardboard by the time you’re done.”
3. Chill the Meat First
Before you even form the patties, put the meat in the fridge for a half hour or so. You don’t want your body heat to melt away the fat as you shape it; getting it colder helps it withstand the treatment. Weinstein even washes his hands in cold water before working with it to reduce their temperature.
4. Use a Scale
Unless you want people griping about unequal treatment, or you have a practiced eye for meat, use a scale to balance even amounts in each burger. Even Weinstein does.
5. Don’t Overwork the Meat
People tend to ball up the meat as they form their patties. Don’t do that; less handling is better. The more you push down and compress, the tougher the meat will be.
6. Use Both Hands to Form the Perfect Patty
Pull the meat apart into equal pieces, then pat down into a patty on a hard surface with one hand while forming the rough edge with the other. Resist the urge to slam down! Some people use the caps of big mayonnaise jars instead, which is fine. Weinstein prefers a thickness of 3/4 of an inch to an inch.
7. Dimple the Patty
When beef patties cook, they contract, and can leave you with a rounded, uneven burger. Push a little well into the center of the meat, about an inch or two around and a quarter-inch deep. The burger will be perfectly flat when they’re finished cooking.
8. Back in the Fridge
After you’ve formed your patties, put them back in the fridge to cool down again for 30 to 45 minutes.
9. Use the Right Buns
Too many people put all their efforts into the meat without remembering that the bun forms more than half the burger. Try for a meat-to-bun ratio of 1:1. Buns about 4 inches to 4-1/2 inches round are generally good. You don’t want a super-thick burger overhanging the buns — but rather to get a taste of every element — meat, bun, toppings — in every bite.
10. Get the Grill Really Hot
“The hotter the better,” Weinstein says. “You’re trying to sear or char the meat really quickly so you have nice color on the outside and flavor from the barbecue on it.” Weinstein likes to put wood chips in his grill for added smoke flavor.
11. Be Generous With the Salt and Pepper
Add the spices just before it goes on the grill, and don’t be sparing. Weinstein says he doesn’t like to add salt before this stage because he doesn’t want the salt drying the burger out.
12. Put It on and Leave It Alone
Place the burger on the grill well-side up, then leave it alone. “The biggest mistake people make is pushing the burger around because they want to look like a grill master,” Weinstein says. “Stick it down and leave it. You want to touch the burger three to four times at most. You’ll know if you have a sear if it comes right off. If it sticks to the grill, you haven’t let it sear long enough.”
13. Get a Nice Criss-Cross Pattern
Here’s the secret to that nice pattern people love so much: After you get the first sear, do a quarter turn, leave it alone for a little longer — a total of 5 to 6 minutes for that first side. Then flip it, cooked-side down, leave it another three to four minutes, then do another quarter turn, let it get its marking, then take it off the grill.
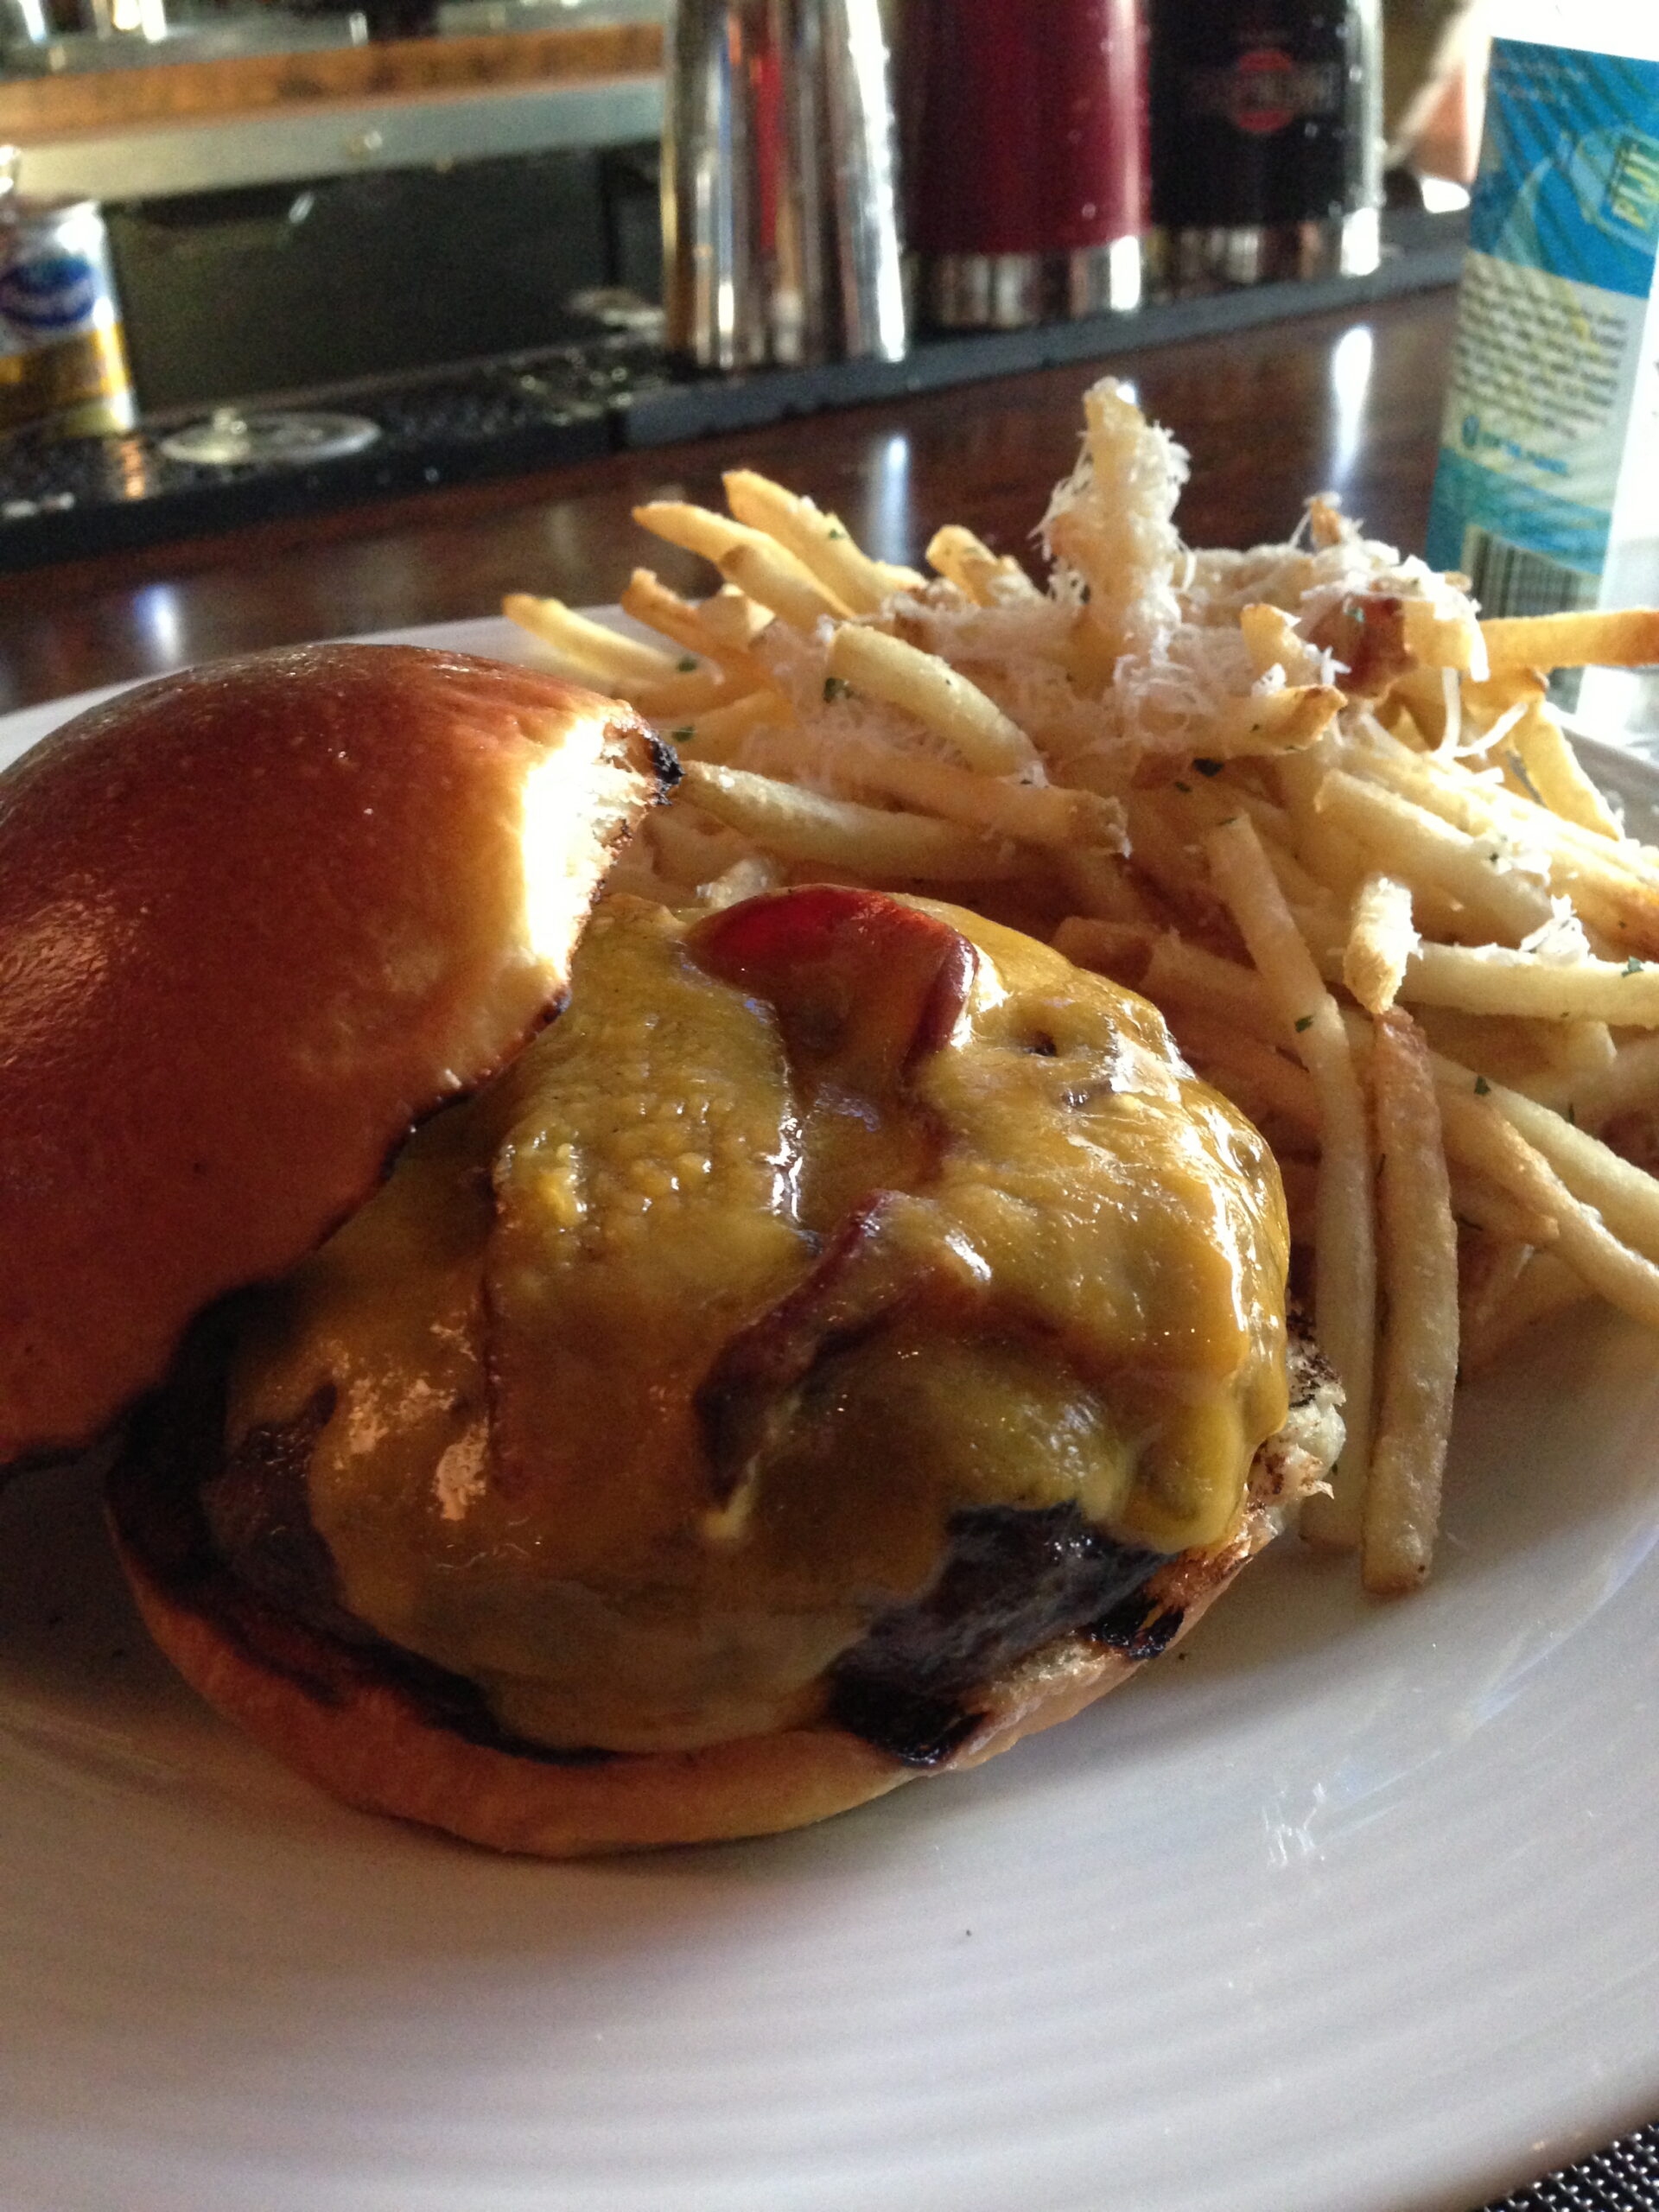
14. Put on the Cheese Before It Leaves the Grill
Add cheese after your last flip or turn, while the burger’s still on the grill. It’ll start to melt slightly and be nicely oozing by the time it gets to the table.
15. Rest the Meat
After you take it off the heat, let the burger rest and redistribute its juices –for two to three minutes — just like you would any steak. This way it won’t immediately lose its juices at the first bite.
16. Have Plenty of Toppings on Hand
Everyone’s got a different idea about what tops the perfect burger. Besides the standards — lettuce, tomatoes, pickles — try at least five or six other, less common options. Consider pepperoncini, jalapenos, or dried cranberries and break out of the American-cheddar-Swiss triumvirate of cheeses. Think havarti, manchego or brie.